It turned out that my game was the only game on Sunday and I had 4 eager players, Dave, Pete, Dickey and Tony. Nobody had played before so this was their first introduction in to space fighter combat.
The Scenario:
After the battle of Hoth the rebels focused on improving their fighter capability. A prototype A wing escorted by 2 X wings is jumped by a 3 TIEs and a Tie Advanced. The A Wing needed to get away and the TIE's needed to get back with the new intel.
Forces:
Imperial
Dickey:
1 x TIE Academy Pilot
1 x TIE Advanced basic pilot
Tony:
2 x TIE Academy Pilots
Rebel
Me:
1 x A Wing Prototype
Dave:
1 x X wing Rookie Pilot
Pete:
1 x X Wing Rookie Pilot
The Game
 |
| The Rebels need to exit by the yellow tape measure |
 |
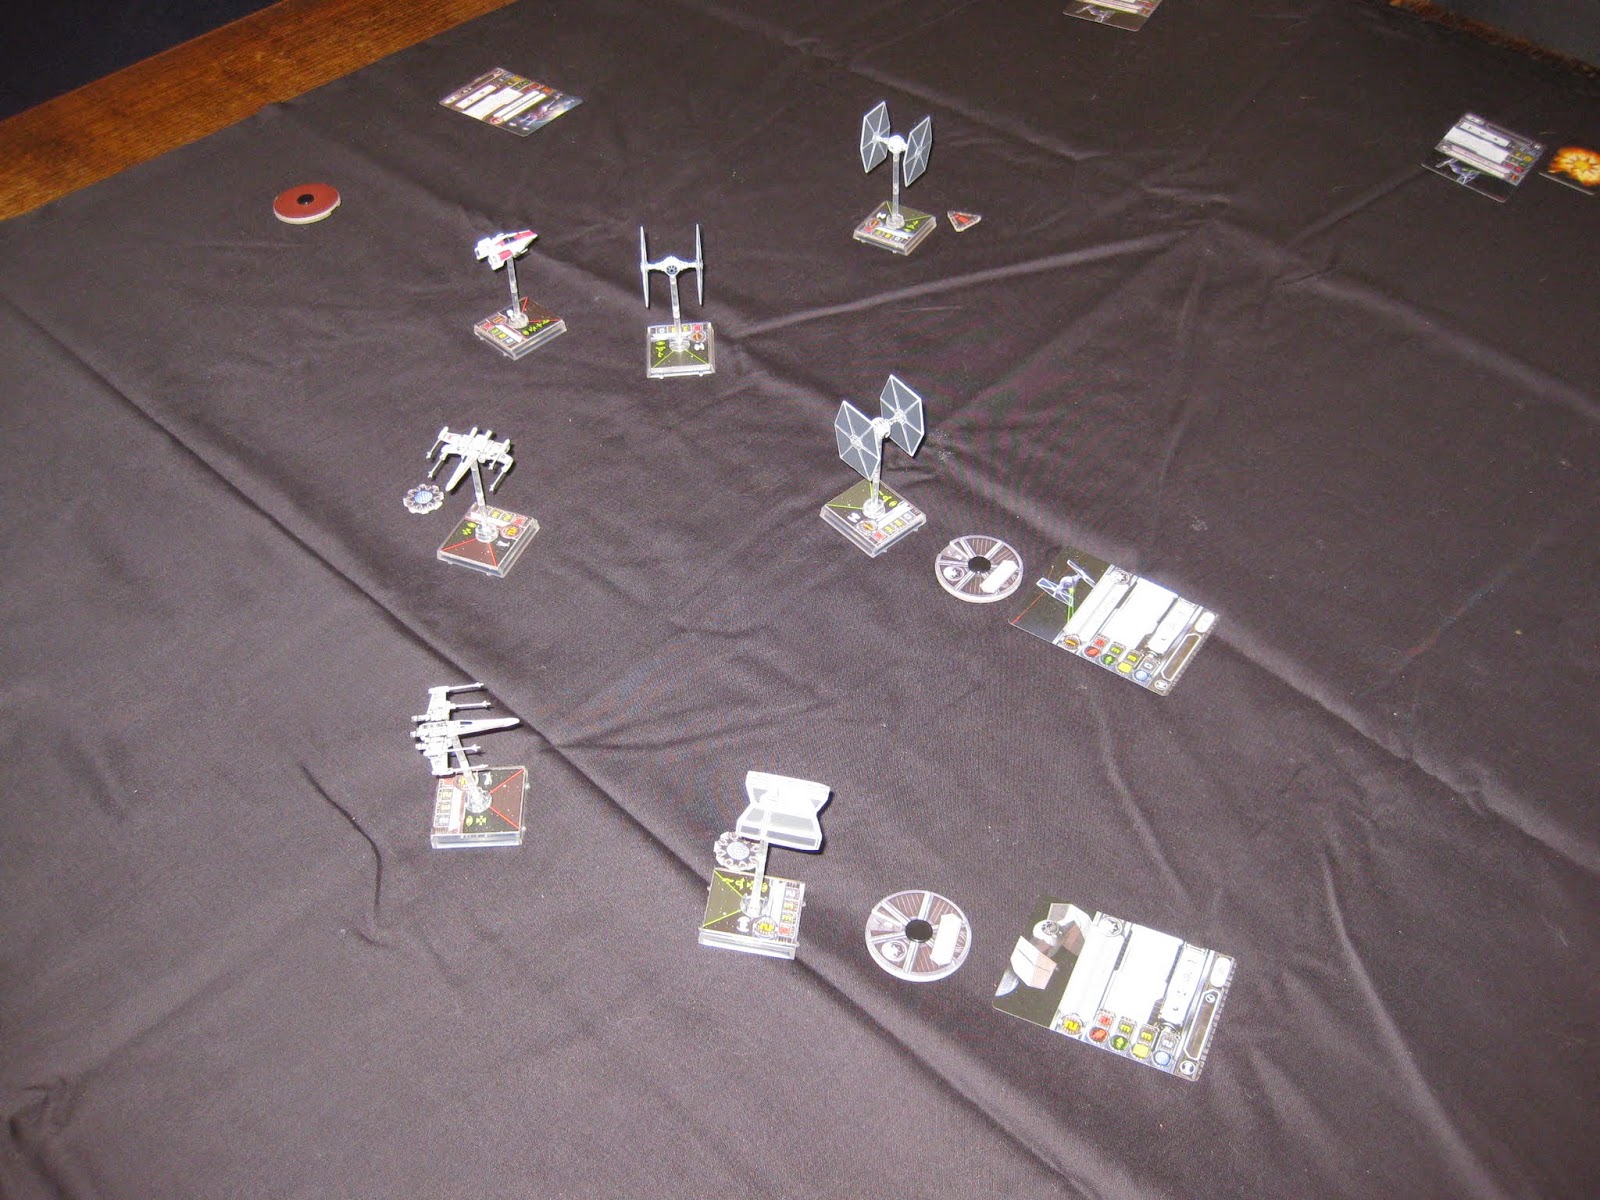
| The Imperials started from 2 sides and the Rebels the other. I didn't stick to a set board size and just worked with the space available. |
 |
| Add caption |
 |
| The A wing prototype flies straight as fast as it can while it's escorts try and keep up. The Imperials attempt to set themselves up for interception. |
 |
| The A wing tries to through the Imperials off but takes shots after an ill judged move losing it's shields. Similarly an ill placed X Wing loses a shield while Daves' X Wing and Dickeys' Tie Advance blaze away with Dave losing his shields and the TIE Advanced one of its' own. |
 |
| The A Wing pulls a stress manoeuvre to get of trouble and succeeds to stress it's self in to the cross hairs of 2 Imperial fighters. Both X Wings get stuck in. |
 |
| 1 TIE less |
 |
| A stunning set of moves leaves all of us out of position and target-less |
 |
| While the TIE's move in only Dave's X Wing keeps up with the A Wing. Petes' X Wing seems to be having a navigational error . They don't make Astromechs like they used too. |
 |
| Dickeys' TIE Advance chases the A Wing |
 |
| Tonys' TIE takes a wrong turn |
 |
| The TIE's recover quickly and get a shot at the A Wing from 3 sides and no more A wing |
 |
| Another shot of the gap left by the A Wing. The Imperials now needed to see off the escorts and get home with the intel on the prototype. |
 |
| Swirling manoeuvres and not a target in sight. |
 |
| Petes' X Wing still off in the distance but getting closer |
 |
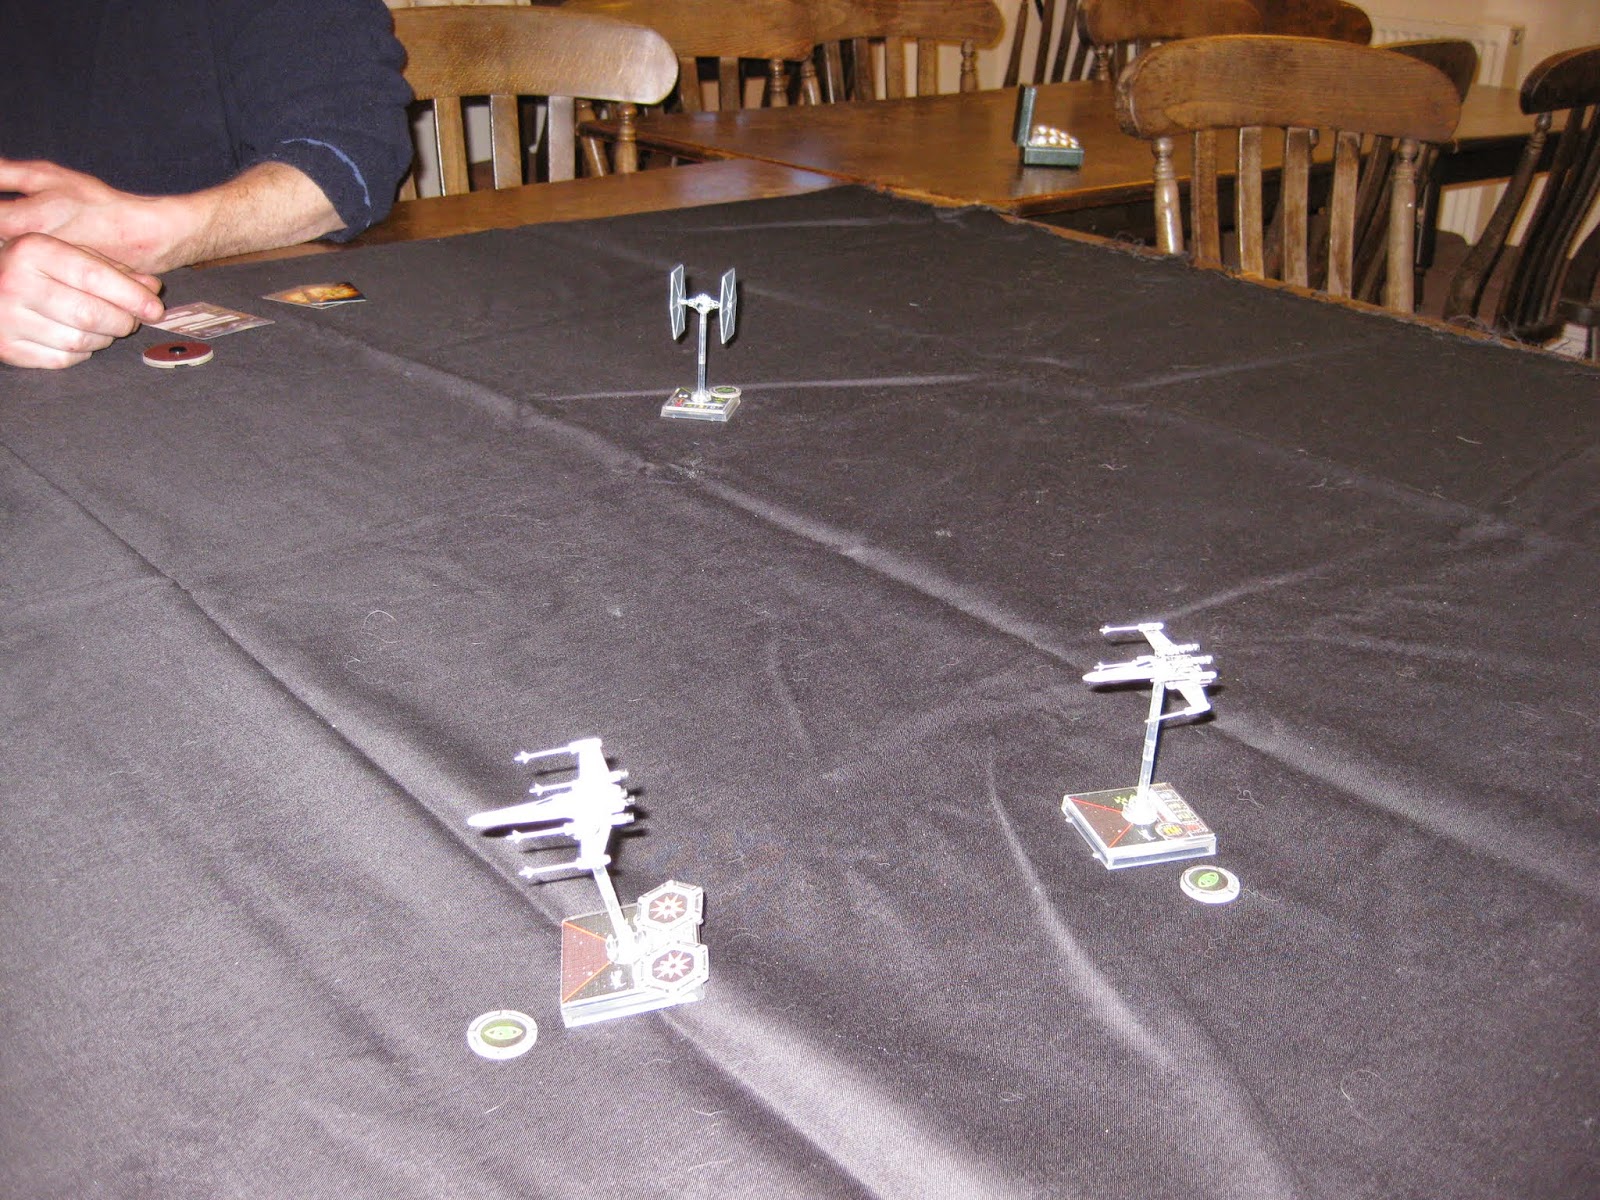
| Dave and Dickeys' ships kissed and couldn't target each other. While Tonys' and Dickeys' TIE And TIE Advanced tried to take down Petes' X Wing bow back in the fight. |
 |
| The unfortunate overlap |
 |
| Dickey brought along some supporters |
 |
| Everyone out of position again and rapidly turning |
 |
| Close of Daves' X Wing and Dickeys' TIE |
 |
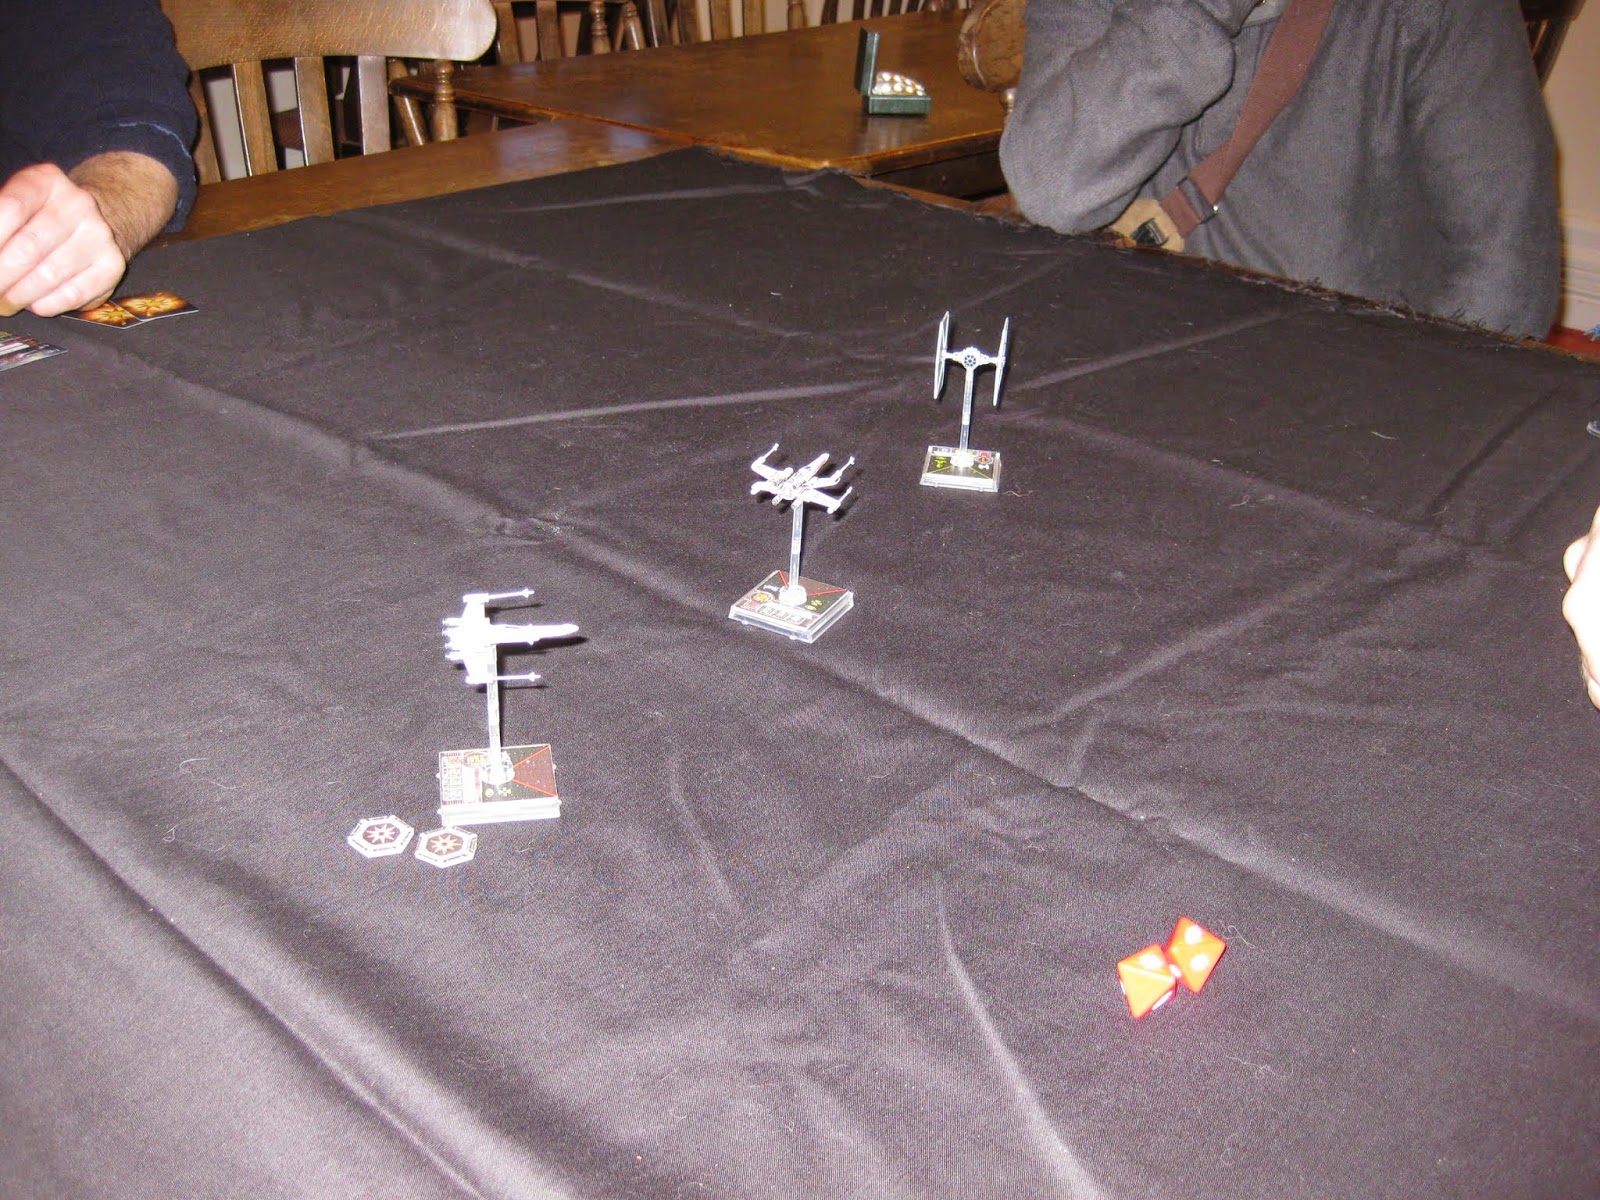
| Close of Petes' X Wing and Dickeys' TIE Advanced and Tonys' surviving TIE |
 |
| Using a laser pointer to test if Tonys' TIE had a shot |
 |
| Laser pointer from another angle, plus a lovely shot of both X Wings overlapping. |
 |
| Where the other TIEs are during this debacle. Shortly after this the TIE Advanced and Tonys' last TIE were destroyed. The excitement was too much during the Rebels most successful move that I forgot to photograph it. |
 |
| Back on target for the final TIE |
 |
| Jockeying for position |
 |
| This takes some time |
 |
| Still not in range |
 |
| Getting closer |
 |
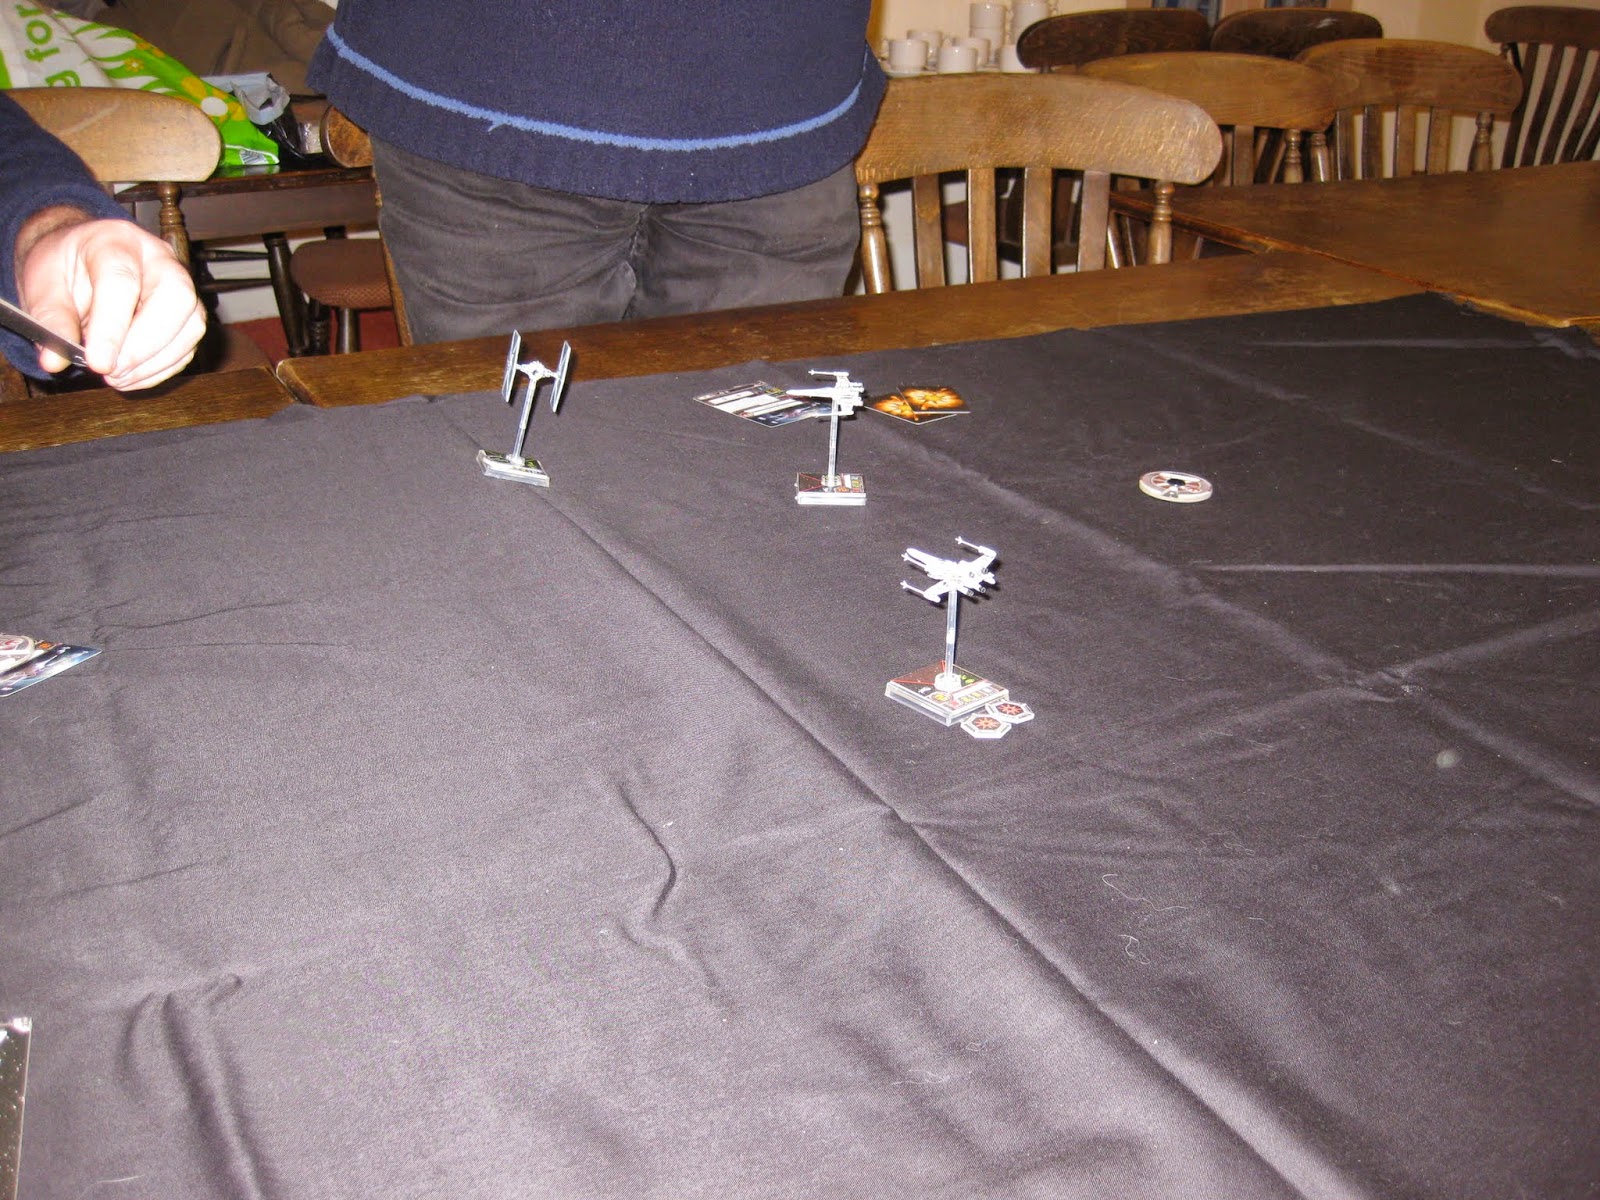
| The TIE slips past and heads for home on the opposite table edge. It's now a race to catch it. |
 |
| Dickeys' fleeing TIE with the vital info on the performance of the A Wing prototype. |
 |
| Can the X Wings catch Dickey |
 |
| Dickey shrugs off the incoming fire and survives for another move |
 |
| Another round of great dice for the Imperials and escape! |
Conclusion
On points the Rebels won, on scenario objectives the Imperials won destroying the A Wing and getting away with the information. However so did the Rebels. The A Wing will be ready in time for the battle of Endor!
The game worked really well and the basics were thoroughly tested. Next I'll need to introduce add on's.
Everyone enjoyed themselves. There was talk of buying their own copies, and how to use the rules for squadrons. The Megalomaniacs job is done!


