This years Christmas game was kindly hosted by Guy who designed the scenario and the forces. Guy was still gluing, painting and basing the morning we started, just to get everything up to wargame quality. Personally I thought everything looked great, and I couldn't tell which figures or vehicles still needed a little finishing off. I have used his briefings for the Situation Report, Terrain, Deployment and Objectives. I have split the text Guy gave me to fit the format used for scenarios in the Battle Group books, any errors in this are mine.
Situation Report
German
An American Platoon has blundered across the edge of the
demarcation zone between the two Allies. Ever a nation to be seeking glory they
have moved too fast and too far and occupied a village that will be difficult
to defend for too long and has little strategic significance in the long run.
You cannot believe your luck that such an opportunity has
arisen. You know it’s not going to stop the invaders but if you can inflict
substantial damage this will stall the advances and buy time for the Wehrmacht
to establish a good fortified defensive line from which to throw them back into
the sea.
You must not allow the enemies Recon teams to get near to
the village and see where and what is being built up for the attack on the
village.
Next you must take the Village quickly before any force can
aid the defenders.
After the Village is secured keep the British and American
forces from joining up and destroy each of them.
There are no medals to be won for survival, success is what
counts
Allied recon troops start on their respective board edges,
there will be a pre move where foot troops can be inserted onto the board 16”
(infantry can move in the dark it’s a lot more difficult for motorised). Please bare in mind the last troops to hold
this were the enemy!! So do not go blundering around aimlessly.
One of our platoons has blundered across the edge of the
demarcation zone between the two Allied armies. Led by an inexperienced captain
from staff, he has have moved to fast
and too far and occupied a village that will be difficult to defend for too
long and has little strategic significance in the long run. They have now come
under sustained pressure and fear an all out attack is imminent.
Now I’m afraid you will need to reinforce them, we best make
the best out of a bad situation. If we do not then our allies will make staff
dinners so humiliating and we do not want to “upset” the generals do we. I’m
sure our Allies will try and rescue the situation so move fast and get there
before those damn Brits.
British
Allied recon troops start on their respective board edges,
there will be a pre move where foot troops can be inserted onto the board 16”
(infantry can move in the dark it’s a lot more difficult for motorised). Please bare in mind the last troops to hold
this were the enemy!! So do not go blundering around aimlessly.
An American Platoon has blundered across the edge of the
demarcation zone between the two Allies. Ever a nation to be seeking glory they
have moved to fast and too far and occupied a village that will be difficult to
defend for too long and has little strategic significance in the long run. They
have now come under sustained pressure and fear an all out attack is imminent.
Now old boy, you are to “rescue” them this is too good an
opportunity to miss, to be able to “remind” our allies about this will make
staff dinners so much more entertaining. I’m sure our Allies will try and
rescue the situation so be sure not to dawdle there’s a good chap.
 |
| Top German deployment area. Bottom left British deployment area and bottom right American. Americans also hold the village top of shot. |
Dark roads are tracks allowing a 1.5 modifier to normal
movement.
Cream, wider road allows normal road movements.
Trees they will impede line of site
and allow things to be concealed in them but they are not woods.
The small river it is fordable by everything but takes
1 full move to achieve if not done at a ford/bridge (so move to the river and stop next move you get to the other side and have ½ movement left).
Hills (think of them as areas of raised ground
rather like Lincolnshire
4Ground buildings are so well detailed that what you see is what you get. You can only enter buildings through doors or windows or holes and likewise only shoot out of same.
Deployment
German
German recon troops start on their respective board edges,
there will be a pre move where foot troops can be inserted onto the board 32”
and motorised 12” (infantry can move in the dark it’s a lot more difficult for
motorised). Please bare in mind the village
is held by the enemy and although you can move past at night when day light
comes you will be seen if in the open and you know what happens if you are
seen! So do not go blundering around aimlessly.
American
Allied recon troops start on their respective board edges, there will be a pre move where foot troops can be inserted onto the board 16”. (infantry can move in the dark it’s a lot more difficult for motorised). Please bare in mind the last troops to hold this were the enemy!! So do not go blundering around aimlessly.
British
Allied recon troops start on their respective board edges, there will be a pre move where foot troops can be inserted onto the board 16”. (infantry can move in the dark it’s a lot more difficult for motorised). Please bare in mind the last troops to hold this were the enemy!! So do not go blundering around aimlessly.
After the recon phase the main force appears on the same road.
Objectives
- Take/hold the village
- Don't break
Special Rules
The first 4 turns of the game will start with each sides
Recon Troops occupying the Board. The outcome of this will have either a
Positive or Negative impact on the arrival schedule of the main forces as well
as of course morale chits. Any none numeric chit drawn in the first 4 turns
will be returned to the pot and another drawn, the 2nd chit will
stand.
All commanders to allocate their main forces into 110
points ( approx. - do not get too hung up but play to the spirit) then give these a number between 1-6. They
can then be rolled for from the start of turn 5 onwards. Depending upon the
outcome of turns 1-4 you may or may that be able to influence the order you get
things.
The plus one per officer to the command roll only uses the officers on the board. Dead ones don't count nor do those officers yet to arrive on the battlefield.
The Allies are not allowed to confer.
The Forces
German Panzer Division Points: 1809 BR: 101 Officers: 7 Army Size: Battalion
Reconnaissance force
Recon Platoon Command in SdKfz 250/10
2 x Sniper and spotter
2 x Panzer Grenadier foot patrol - bipod MG42, panzerfausts
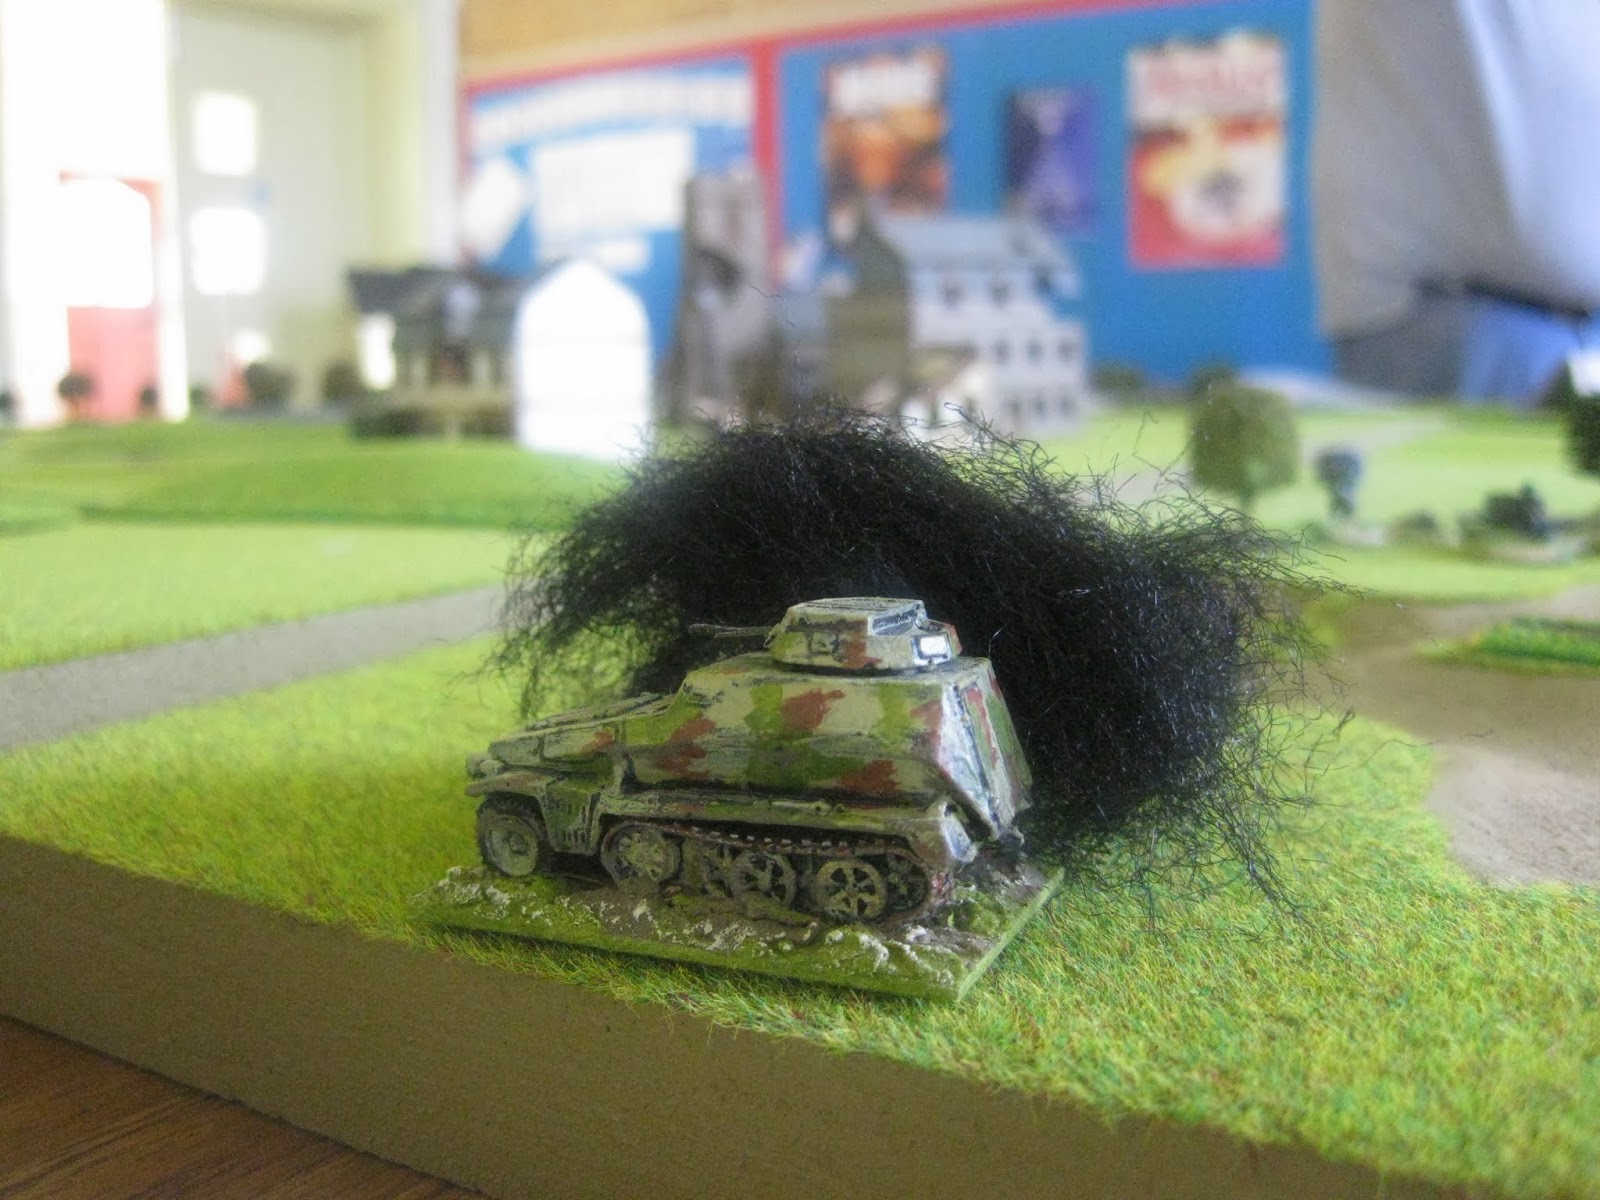
SdKfz 234/2 Puma armoured car
2 x SdKfz 250/9 armoured car
Main Force
Forward HQ in SdKfz 251/3
Forward Signals Unit in SdKfz 251/3
2 x StuG III G battery (3 x StuGs)
Panzer IV Platoon (3 x PzIV H)
1 x Panther G
Forward Observer Team in Kubelwagen
2 x 120mm mortar with heavy car
2 x 120mm mortar
2 x Off table 105mm howitzers
2 x Armoured Panzer Grenadier Platoon, with self propelled infantry gun SdKfz 251/9, and one platoon with 75mm Pak40
Assault Pioneer squad in 251/1 with panzerfaust, flame thrower, 2 demo charges
Bergepanther recovery vehicle
2 x StuH 42 G
British Armoured Division Points: 790 BR: 49 Officers: 5 Army Size: Company
Reconnaissance force
Recon Platoon Command in Jeep
2 x Carrier team
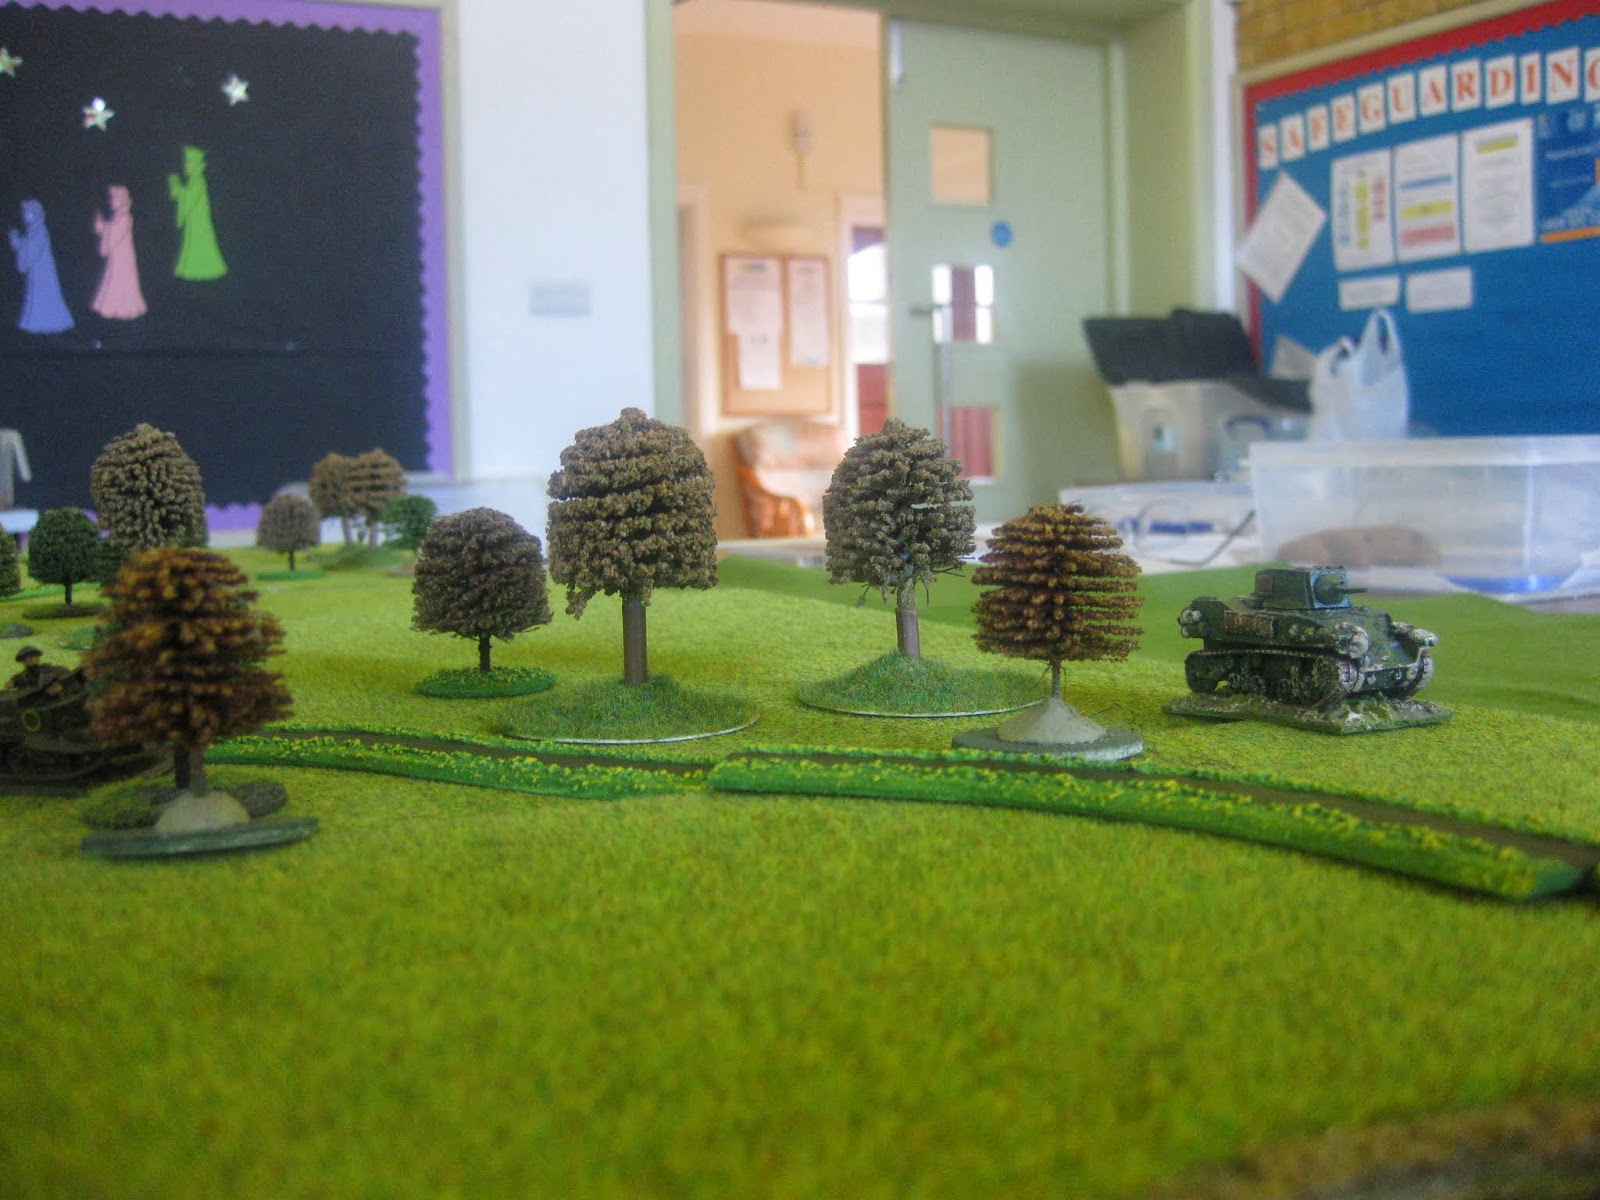
M5 Stuart tank
Main Force
Forward HQ in M5 half track
Forward Air Control Officer in jeep
Cromwell Tank Troop - 2 x Cromwell, 1x Firefly
2 x Self Propelled Tank Destroyer - M10 Achilles
Artillery Forward Observer in Bren Carrier
Self Propelled Artillery battery - 2 x M7 Priests
2 x Off Table 81mm mortars
Motor Infantry Platoon in M5s, 6pdr AT gun with Carrier tow, HMG team in Carrier
2 x Supply trucks
Wasp
American Defenders (Armoured Division) Points: 232 BR: 17 Officers: 1 Army Size: Squad
Armoured Infantry Platoon (Irregular - because of their inexperience)
- AT gun
- Bazooka
Self Propelled Howitzer M8 HMC
Self Propelled AA gun M16 Half track
American Relief (Infantry Division) Points: 782 BR: 39 Officers: 6 Army Size: Company
Reconnaissance force
Recon Platoon Command in Jeep
Jeep Recon team
Infantry patrol
M20 Armoured car
Main Force
Forward HQ in jeep
Forward Air Control Officer in jeep
Medium Tank Platoon - 5 x M4, 1x 76mm
Self Propelled Tank Destroyer - M10
Artillery Forward Observer
2 x Off Table 105mmL22 Howitzers
2 x Off Table 81mm mortars
Infantry Platoon (Irregular) in M5s, AT gun with Jeep tow, MMG team in Jeep
2 x Supply trucks
The Game
I played the British helping the Colonials out of their bit of bother. We played the game with the Allies going first and acting simultaneously. The following will therefore have a British bias and I know I didn't spot everything in the hurlee burly of combat.
Guy and Robin played the Germans, with Robin popping off early replaced by Daniel who had been gallantly holding the village as the American defender. Karl took the American relief force racing to beat the Brits to the rescue and saving American honour!
I was the only one who had split their main forces in to 6 groups roughly 110 points each as per the pre-game instructions. The Americans did their split during the set up but I don't have a record of it a part from what appears in the photos as the game went on. The Germans picked what they needed in reaction to the Allies pouring on to the board. I suspect the host/umpire/German player of bias here but it wasn't out of character for the scenario with the Allies attacking German defenders/counter attackers. It also allowed the game to start quicker as we were a little late starting and had a full day ahead.
Turn 1
We rolled for initiative which the Allies won. Since the British did not have foot recon troops the Americans infiltrated theirs in to the woods either side of their road just before the hamlet.
As dawn approached the vehicles elements of both Allied forces shot up the track for the British and road for the Americans. Both sides taking a double move.
 |
| American foot patrol greet the Jeep recon team and the recon command |
 |
| Same shot without flash |
 |
| The sun rises over the stranded American platoon in the village |
 |
| As the mist cleared we could see the village more clearly. All building across the river are occupied, as are all floors. The Quad AA half track is across the river towards the bottom of the photo |
 |
| The centre of the village with an M5 and Self Propelled Howitzer M8 HMC out in the open |
 |
| American defenders can be seen in the Church |
 |
| Hidden in the woods is one of the German sniper teams |
 |
| SdKfz 250/9 armoured car |
 |
| American defenders of the Church |
 |
| German infantry patrol occupies the woods opposite the Church and covering the ford. |
 |
| The Puma and the other SdKfz 250/9 armoured car appear on the left side of the German deployment area |
 |
| The armoured cars flank is covered by the other infantry foot patrol and the sniper team |
 |
| Another shot using the flash |
 |
| Overview with flash |
 |
| Overview without |
 |
| CRACK... the American AT gun on ambush orders takes a shot at the SdKfz 250/9 as it moves off the track and up the flank |
 |
| Overview from the Allied base line, British corner |
 |
| First blood to the American defenders |
 |
| The Americans in the village open up with area fire on the sniper team targeting the Church and pin it. |
 |
| Overview |
 |
| The British Stuart and the command jeep plus 2 Carrier teams advance |
 |
| The German patrol fire on the Church hoping to suppress the units inside. |
 |
| The American recon commander watched his force move up the road to link up with the infantry advancing on the hamlet |
The Germans take a token for the destroyed vehicle and at the end of their turn another token to unpin the sniper team. A theoretical score of 6 (on average the value of a token is 3). That takes the German BR score from 101 to 95. Each team didn't know the make up or BR totals of the others so we were quite ignorant of what we had to do to break each other.
 |
| The Americans occupied the hamlet |
 |
| The British rushed up the Carrier teams and took cover behind the ruined village building and claim first contact with defending Americans. The colonials can breathe easy now the Brits have arrived |
 |
| The Americans consolidate around the hamlet |
 |
| Roof off to remind me the American infantry have taken cover inside |
 |
| The mdf lozenge on top of the church is an Ambush Fire counter for the MMG team in the tower. The jeep bottom right is British although due to figure supply Americans are standing in. |
 |
| On the right an American jeep team have coming to look at what the British are doing. The M20 armoured car on the far right has moved from the hamlet to cover behind a hill clearly in view of their beleaguered country men. |
 |
| The track is starting to get a bit disjointed with all the British then German traffic |
 |
| The Germans move up their machine gun armed vehicles to hose the church down while the Puma takes on the Self Propelled Howitzer M8 HMC |
 |
| The British manage to pin the German MG team opposite the Church |
 |
| The Puma's first shot misses |
 |
| Has does it's second |
 |
| The German right |
 |
| The British Carrier teams deploy in to the village. The figures are 2 HMG teams but for the game they are 2 x 3 man teams with a Bren. |
Turn 3
 |
| The British Stuart is joined by a Bren Carrier that has edged out from behind the trees to increase the weight of fire on the German patrol. The Germans need to be cleared from the wood opposite the church if the British stand a hope of taking the ford to the village. |
 |
| The American defenders hang on to the Church |
 |
| The American recon troops holding the hamlet |
 |
| Without the flash |
 |
| The jeep team in the hamlet |
 |
| The Germans look on |
 |
| The Americans still hold all the buildings in the picture but the building to the right out of shot that held the AT gun has now been abandoned along with the gun. The Germans are beginning to make in roads on the village. |
 |
| Vehicle congestion amongst the Allies on the outskirts of the village |
No tokens for the Germans this turn, but the American defenders take one for the AT gun. Rather than number the Americans drew air support, but were unable to make successful radio contact and it flew on.
 |
| The British manage to pin both the German infantry squad and the MG team, but the Germans still hang on to the ford. |
 |
| The Americans look on as the weight of German fire begins to toll. Units become pinned in multiple building and the MG team on the roof of the Church is destroyed. In the centre of the village the German Puma finally takes out the self propelled howitzer then the half track next to it. |
 |
| Smoke fills the village from the burning vehicles |
 |
| The Puma revels in it's success |
 |
| The Church and the roofed buildings are still in American hands |
 |
| The American recon force moves up to cover the villages right flank |
 |
| The M20 goes on to Ambush Fire orders |
The Germans take 2 tokens to unpin the patrol in the woods giving them approx. new BR of 86. The Americans take 2 BR tokens bring their defenders down from 17 to 11, however as the recon force is linking up their combined total is now 50. The British are still on their full 49.
This turn was the end of the recon phase. The American defenders had lost the most units but the Germans had lost the most Battle Ratings reducing their effectiveness (because you become more cautious not wanting to take more tokens). Both Allied teams had reached the village. It was therefore judged that the Germans had not done enough in the reconnaissance phase to impact the arrival of the Allied main forces.
Turn 5
The main forces begin to arrive in their approx. 110 point groups. I brought on my Cromwell troop which was 156 points while the American brought on part of their Medium Tank Platoon.
 |
| The dice behind the tanks are ammo markers. Red for Armour Piercing (AP) and white for High Explosive (HE). The newly arrived British rolled poor command dice but still managed to get a Cromwell and Firefly up the track. The Stuart went on to Ambush Fire orders while the Bren Carrier next to it attempted to re-pin the the German patrol and failed. The Bren teams in the ruins received Ambush Fire orders thus creating a nice kill zone if any Germans fancied close assaulting the tanks. |
 |
| The Americans also suffer from a poor command roll and snake up the road in their slower tanks |
 |
| The German main forces begin to arrive. At this point the British believe from the pre-game brief that all green areas are playable board and that the green cloth to the left is perfect for an out flanking move. |
 |
| The German main force StuG III G's split up, 2 head towards the British and 1 towards the Americans. |
 |
| The American defenders come under withering fire causing a moral test on a unit. A Beyond the Call of Duty token is taken and since the American forces are all united on the board it was played on one of the newly arrived Shermans which double moved to the village. |
 |
| The Americans to the right of the village are now well placed to ambush the oncoming Germans. Although at this stage only the M20 is on ambush orders. |
 |
| The German positions at the end of the turn. |
No tokens for anyone this turn.
Turn 6
 |
| The British and American tanks move up. The German patrol at the ford is pinned again by the British fire. |
 |
| The rest of the American medium tank platoon arrive, and the British bring a motorised infantry platoon without it's support weapons |
 |
| The Germans bring on Panzer IVs and consolidate their flanks. |
 |
| German left flank |
 |
| German right flank, dominating the ford and the centre of the village |
 |
| The StuG takes a flank shot at a Sherman and misses. |
Turn 7
Lots of things begin happening at once. All sides bring on more reinforcements and the main forces engage.
 |
| Overview of the action. The British discover that the green cloth is for show, or for game purposes impassable swamp and switch their attack to the centre with a Cromwell taking a position to engage any Germans entering the village. The Cromwell is followed by part of the motorised infantry platoon. The Germans strengthened their grip on the ford by bringing up a StuG and Pz IV. The Cromwell on the road used it's Ambush Fire order to take a shot but missed. |
 |
| Newly arrived British self propelled artillery |
 |
| The American senior commander and forward air controller with more tanks arrive to witness the relief forces first wave be destroyed or pinned at the cost of one German Puma. |
 |
| The American flank under heavy pressure |
 |
| The StuG blocks the way |

 |
| 2 Panzer IV's halt the American advance |
 |
| The village becomes smokier as the destroyed American tanks live up to their nickname of 'ronson' |
 |
| The burning Shermans |
The Germans take a token bringing them down to a possible 83, but the Americans take a beating. Luckily they draw another heroic action but fail to pass the experience roll to make use of it. Their BR is now roughly about 44.
Turn 8
As darkness began to fall the fighting got fiercer and casualties mounted on all sides. At this point (if not earlier) I began to really loose track of the tokens taken as American defender units began to disappear from the village buildings.
 |
| The British destroyed the MG team in the woods and pinned the infantry squad. The token taken by the Germans was for Out of Ammo which was played on the American squad on the ground floor of the church. Towards the bottom of the photo the British Achilles's advance |
 |
| The battle for the ford! The StuG destroyed the Cromwell in the road and the squad of British infantry that had deployed in the woods were pinned. The rest of the motorised infantry had tried to reach the river near the Cromwell which was now pinned by the StuG's dominating the village. The motorised infantry couldn't find a way through their own carriers and the American AA half track forcing them to charge around the building and in to the open. Only the hull down positions of the Germans behind the hill stopped them from being seen (after a hearty debate). |
 |
| German reinforcements seemed to pour on to the board. The Americans continued their advance despite the toll. After poor tank shooting the American recon troops charged from behind the hill and and took out the StuG with anti-tank grenades. |
 |
| Just in time the remaining defenders of the church out of ammo successfully fall back and mount their M5 half track. As the last American leaves the German pioneers storm in to the building beating the British who are stuck trying to cross the river. |
 |
| The StuGs take out another American Sherman |
 |
| The village is getting crowded with German vehicles |
 |
| The church is lost to the Allies and the ford defences are strengthened by more German armour |
Lots of tokens taken this round. The British took their first casualties and drew an aircraft token but couldn't raise on the radio. The American forward air controller looked on in frustration. At the end of the British phase a token was taken to unshake the infantry squad in the woods and the Cromwell on the central hill taking their BR down from 49 to 43 (I drew a 5).
The Germans were down to a probable 80. The Americans were still in the game with an approx. BR of 41.
Turn 9
As the light faded fast there is no time to loose and the Allies renew their attacks.
 |
| The British Forward Air Controller arrives plus a mortar from the motorised infantry's support weapons. At the same time the American defenders of the church drove off following the river. In front of the church supported by area fire from the platoon commanders half track and the Stuart, 2 squads in half tracks cross the river, dismount and charge the church. The area fire had not suppressed the German defenders and a melee ensues. 1 German squad is wiped out to a cost of 1 British squad destroyed and 1 pinned. The German Pioneers flamethrower being deadly. The British drew a Beyond the Call of Duty token and used it to unpin the surviving squad and charge again. Only 1 German unit was left in the church, but they managed to hold on. The German Panzer IV machine gunned the survivors destroying the squad. The British took a token. While all this was going on the British called in an artillery strike on the woods in an attempt to shift the German infantry and pin some of the tanks. The Royal Artillery were accurate and pinned a StuG. Further fire from the Bren Carrier and the dismounted infantry squad couldn't pin or destroy the infantry and the Germans stayed in the woods. |
 |
| On the left at the rear the American infantry in half tracks can be seen approaching. The American tanks finally began to hit their targets and pinned both Panzer IV's blocking their advance. On the German right flank the destruction of the StuG on the road last turn allowed a Sherman and the M20 to flank the Germans here. Unfortunately for the Americans the Germans had shored up this flank with a Panther which hit but did not pin or destroy it's target. The StuH 42s are in the middle of the photo and the Bergepanther is at the bottom with the newly arrived German mortar battery's. |
 |
| The German left under pressure but still intact have survived the main British assault. |
 |
| The village looks to be in German hands but they only hold the Church and the open ground in the centre. Americans are still in 2 buildings and the British in 1. |
 |
| The German left flanked by the Americans |
Here the game ended before the Germans could start their phase of the turn. The British were stalled but a part from the German infantry in the church and woods nothing could see to shoot without breaking cover. The British had a Firefly on Ambush Fire with the recon force infantry to reward such a cheeky move or any firing from the church. On the American side the Panther was a threat and the German recon infantry could attack the M20 or attempt to wipe out the last American defenders. Since the Americans had nothing on Ambush Fire orders they would not be able to react to any German moves.
The German artillery controller was not yet in position to make a difference but would be if there had been a turn 10. This probably goes for the Americans as well. The British of course were already using their artillery but had yet to get their mortars in to play.
Neither of the sides were near zero BR and breaking and neither were in full control of the objectives. The Allies had more artillery assets to use and more tank killing assets, although the German quality may have balanced this anti-tank disadvantage.
On BR left using my rule of thumb for the Americans and Germans the scores were:
British 37 BR left 76% of starting total
Americans 41 BR left 74% of starting total
German 71 BR left 77% of total (71 assumes 2 tokens taken to remove pinned status on 3 units)
A German win on points only. They had failed their verbal orders.
Review
The game played well and we had a great time, but it was a shame we couldn't finish the final turn before we all had to go home. I really enjoyed the recon phase of the game which is an option within the rules for Battle Group scenarios. In hindsight if we hadn't played these 4 turns and gone straight to the main game we'd have reached a clear result. We also started a little late.
Lessons learnt is definitely pin the enemy before close assault, although the British assault was played knowing this was the last chance to deny a German victory.
I was happy with my choices of attack groups entering play. I did miss the artillery early on though.
I'd certainly play this again. Thanks Guy.